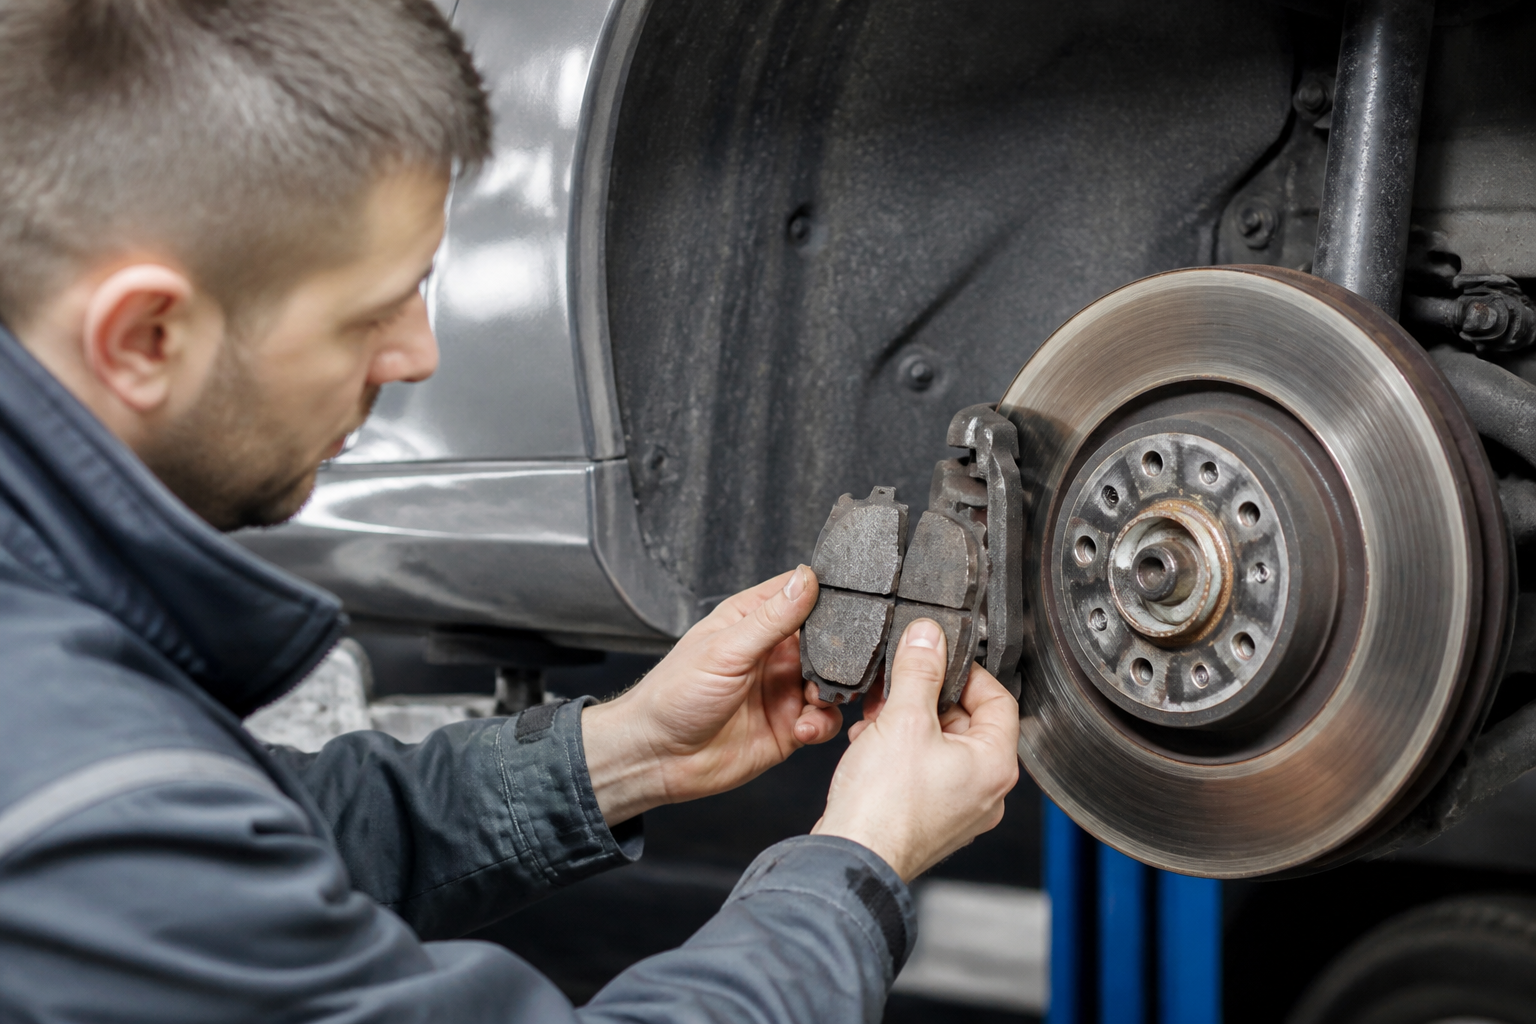
For a Mercedes brake pad wear warning with a “Visit Workshop” prompt, perform non-scan, owner-first checks: confirm sensor connectors are securely plugged in and free of corrosion, inspect the wear sensor area for proper seating, and verify there’s no obvious wiring damage. If wear is visually evident, plan service at an authorized center; if the wear sensors test OK but the message persists, focus on sensor/connector fit or wiring as potential causes before booking service.
Owner-first steps for Mercedes brake wear warnings
- Brake wear messages require correlation with inspection; wear may be signaled even when sensors test OK due to sensor/connector issues.
- Check sensor connectors for proper installation and corrosion; a loose or corroded connector can trigger false wear messages.
- If wear is confirmed by inspection, follow MB guidance to arrange service at an authorized center; if not, focus on wiring/connector issues as possible causes.
Overview: interpreting the brake pad wear warning before you escalate
When a Mercedes-Benz instrument cluster displays a brake pad wear warning paired with a Visit Workshop prompt, it signals that the system has detected a condition related to the brake pads that merits attention. MBUSA manuals explain that brake-pad wear status messages are intended to inform the driver about wear limits and to guide the next steps—generally toward inspection at an authorized service center once wear is confirmed. The underlying intention is to prompt timely service to maintain braking performance and safety.
Importantly, the presence of this message does not automatically equate to dangerously worn pads. Several non-wear factors can trigger or mimic the warning, including sensor faults, worn wiring, corroded connectors, or even software interpretation quirks. This article focuses on owner-first diagnostics: how to perform practical, non-scan checks to determine whether the warning likely reflects actual pad wear or a non-wear issue that should be corrected before booking service.
Owner-first checks: building a logical path to true wear vs. non-wear causes
The diagnostic pattern you follow starts with confirming visible wear, then assessing sensor integrity, and finally considering electrical or connection problems that could generate a false alert. Mercedes’ documentation and related automotive guidance emphasize a non-scan, inspection-driven approach first, reserving dealer-level diagnostics for cases where wear is confirmed or where a fault cannot be explained by the checks below.
1) Visual and tactile wear cues you can check without special tools
- Inspect brake pads visually at each wheel (if the design allows safe access) for minimum thickness relative to the manufacturer’s wear indicators. Note: many modern MB models use wear sensors integrated into the pad or rotor-sensor configurations that may not be easily visible without removing components.
- Look for uneven pad wear between opposing sides of a caliper or uneven wear across the brake rotor as a hint of caliper sticking or seized hardware, which can alter braking performance and trigger wear-related warnings.
- Check for signs of glazing, scoring, or contamination on the pad or rotor surfaces that could affect braking feel and sensor readings but do not necessarily indicate excessive pad material loss.
If you visually confirm substantial pad thickness loss, record the approximate wear and plan service. If wear appears minimal or unclear, proceed to sensor and connector checks to evaluate non-wear causes.
2) Sensor and connector checks: the most common non-wear culprits
- Sensor connectors: verify that the brake pad wear sensor connectors are fully seated and undamaged. An unplugged, loose, or misaligned connector can generate a warning by signaling an abnormal sensor state.
- Wiring and harness routing: inspect for pinched, frayed, or corroded wiring paths that run near moving parts or heat sources. Damaged wiring can create intermittent or erroneous sensor readings.
- Connector condition: look for corrosion on terminals, bent pins, or contamination (oil, dirt, moisture) that could skew sensor input to the control unit.
- Mounting hardware: confirm that sensor anchors and retainers are intact and that the sensor is mechanically aligned with its target on the pad or rotor as designed for your model.
These checks target the possibility that a fault in the sensor system—not actual pad wear—triggers the warning. If these checks reveal a fault, address it and re-test the warning after repair or connector reseating.
3) Understanding the warning’s behavior when sensors test OK
Mercedes-Benz documentation and related technical literature acknowledge scenarios where the brake wear message can appear even when wear sensors test OK. A Model 211-specific TSB describes this condition and directs technicians to inspect sensor connectors and use STAR Diagnosis to pinpoint the root cause of the erroneous alert. In practical terms, if a technician confirms the wear sensors themselves are not indicating wear, the remaining investigation should focus on connectors, harness connections, and potential firmware interpretation issues that could cause the system to display a wear message.
4) Reference guidance from regulatory and safety-focused sources
- The NHTSA document on pad wear sensing outlines a decision framework that differentiates between a display indication and active diagnostic trouble codes. It emphasizes how a status message may not coincide with active fault codes, guiding owners and technicians to consider both the display state and any present codes when diagnosing the cause.
Decision point: when to DIY vs when to book service
Use the sequence of owner-first checks to decide your next step. If you can confirm genuine pad wear through reliable visual cues or measurements, plan service with an authorized Mercedes-Benz service center to perform a pad replacement and any related system checks. If the wear signal persists after confirming sensor integrity and securing connectors, or if you cannot locate wear indicators during inspection, treating this as a sensor/connector or software-related alert and scheduling professional diagnostics becomes prudent.
Putting it into practice: a practical checklist
- Review the instrument cluster message carefully and note any accompanying alerts or codes if available.
- Inspect accessible brake components for obvious wear; compare to the expected wear limits for your model (consult the owner manual when in doubt).
- Check all brake pad wear sensor connectors for secure seating and signs of corrosion or damage.
- Inspect wiring harnesses near the wheels for damage, chafing, or moisture intrusion; address any found issues.
- Reset or cycle the system if your service procedure allows, and re-evaluate the display after short city driving or a safe test drive to see if the message recurs.
- If the message remains unresolved after these checks, book an authorized Mercedes-Benz service visit for a diagnostic with the appropriate tooling (STAR Diagnosis or equivalent).
Supporting references
The following materials provide the context for these guidance steps: official MBUSA owner documentation on vehicle status messages and brakepad wear alerts, a Mercedes TSB discussing wear messages appearing when sensors test OK, and a NHTSA document outlining pad wear sensing troubleshooting and its relation to diagnostic codes and status messages.
Key sources include:- "Vehicle status messages" (multifunction display) including brake pad wear message guidance, MBUSA (2010)
- Technical Service Bulletin (TSB) — “Brake Wear! Visit Workshop” displayed when brake wear sensors test OK (Model 211), Mercedes workshop-manuals.com (2008)
- NHTSA ODI document — troubleshooting pad wear sensing feature scenario (2023)
Direct references for deep dive: MBUSA owner manual (2010) and the Model 211 TSB cited above. For a broader context on diagnostics, see the NHTSA document linked here.
Source URLs for reference:- https://www.mbusa.com/mbrace/vcm/MB/DigitalAssets/pdfmb/ownersmanual/2010_c.pdf- https://workshop-manuals.com/mercedesbenz/e_500_4matic_wagon_%28211.283%29/v8-5.0l_%28113.969%29/instrument_panel_gauges_and_warning_indicators/sensors_and_switches_instrument_panel/brake_pad_wear_sensor/component_information/technical_service_bulletins/all_technical_service_bulletins/p-42_10-90/jan/08/brakes_brake_wear_message_displayed/- https://static.nhtsa.gov/odi/tsbs/2023/MC-10238712-0001.pdf
Sources