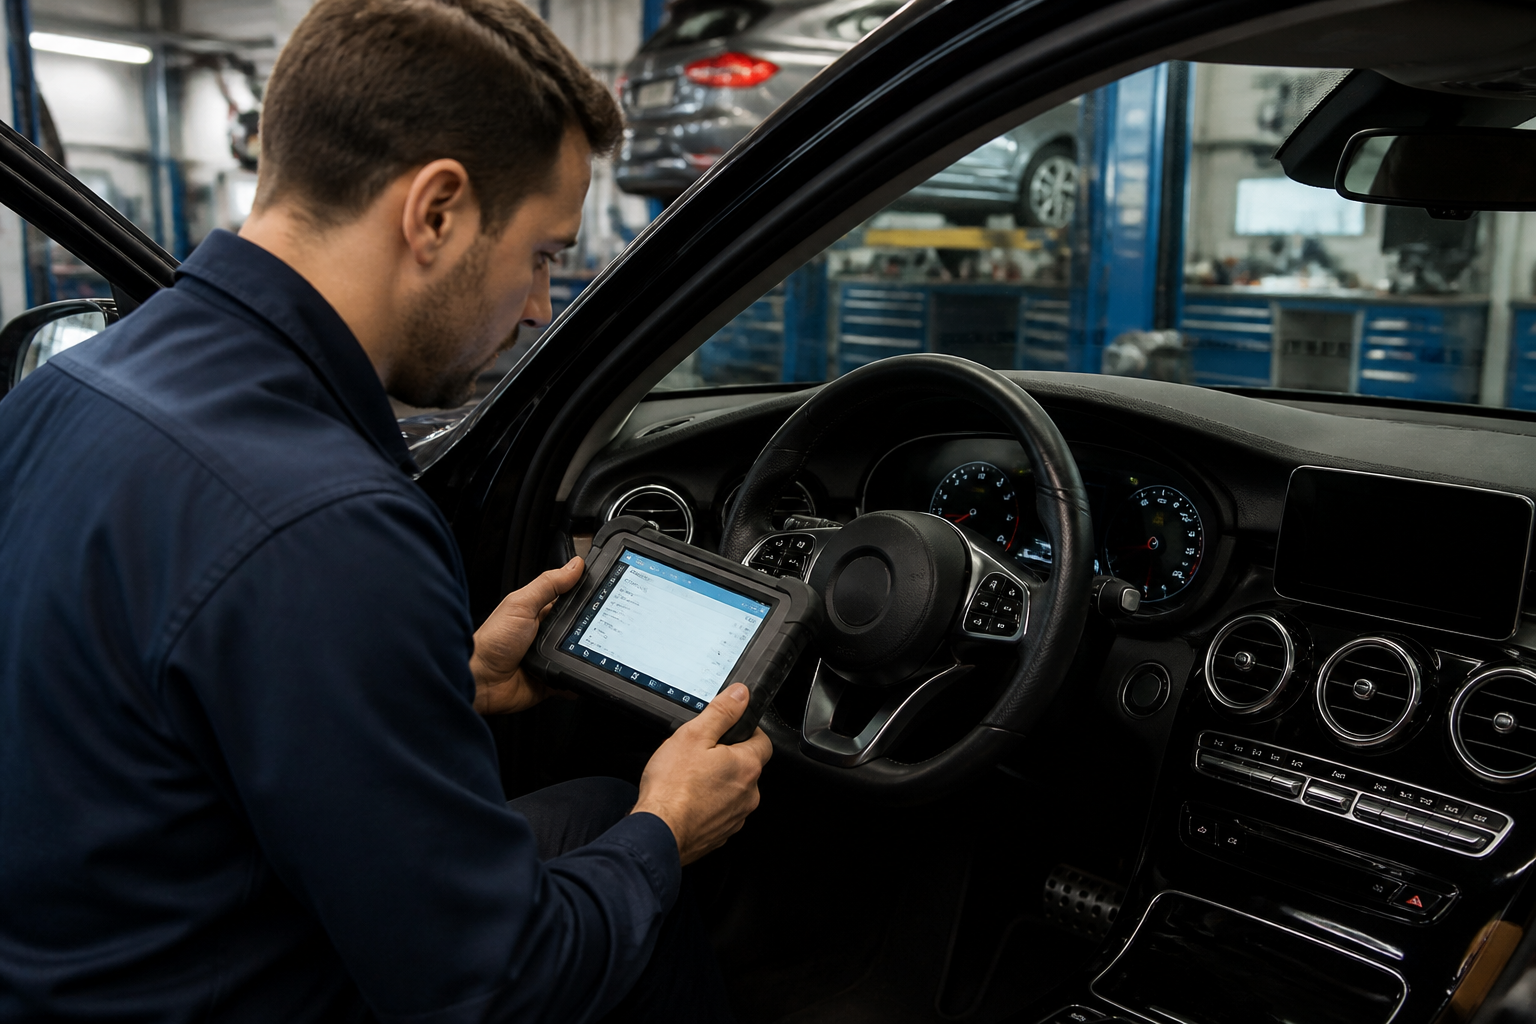
Begin with safe, non-intrusive checks to confirm vehicle safety and prepare fault-code retrieval. Use Mercedes’ diagnostic workflow to identify whether the issue lies with the auxiliary battery or related charging components, then follow the guided tests to confirm the next actions.
Key takeaways
- The warning often relates to the auxiliary/backup battery or its charging path.
- Perform basic safety checks before touching electrical systems (engine off, wearing PPE, avoiding shorts).
- Use the vehicle’s diagnostic path to pull DTCs for the auxiliary battery and follow STAR Diagnosis guided tests if needed.
The Mercedes-Benz dashboard can illuminate a battery symbol with a Visit Workshop message for several reasons related to the charging system or the auxiliary battery. This owner-focused guide expands on what that message generally means, the safe first steps you can take, and how to proceed using Mercedes-Benz diagnostic practices to avoid blind part swapping. It emphasizes a cautious, code-driven approach so you can determine whether the fault lies with the auxiliary battery, the charging circuit, or a related control module.
Understanding the warning: what the symbol and message typically signify
In many modern Mercedes models, the battery symbol paired with Visit Workshop signals a fault condition connected to the vehicle’s secondary (auxiliary) battery or its charging pathway. The Auxiliary Battery is used to power comfort systems, memory, and certain control modules when the main battery is under load or not available. If the Front SAM (Signal Acquisition Module) or related power-supply circuits detect insufficient charge, a low-state-of-charge condition, or a fault in the auxiliary battery circuitry, the instrument cluster may trigger this message to prompt professional inspection. The exact wording and scope can vary by model year and platform, but the underlying principle is: the system has detected a condition that requires service beyond routine driving and basic self-checks.
Initial safety checks owners can perform (no tools or parts guessing)
- Park safely and prepare for a quick exterior check. Ensure the vehicle is on a flat surface, in a well-ventilated area, and the engine is off with the key out. If your model supports it, engage the parking brake and remove jewelry or items that could contact electrical components.
- Check for obvious alerts in the cabin and under the hood. Look for other warning lights that accompany the battery symbol, such as charging system, ABS, or transmission warnings. Note any dimmed instrument lighting or hesitation in starting, which can accompany charging faults.
- Inspect battery accessibility and terminals safely. If an auxiliary battery is accessible, inspect for corrosion, loose connections, or signs of moisture. Do not attempt aggressive probing with metal tools near live terminals; if you’re unsure, skip this step and proceed to diagnostics.
- Observe the driving behavior prior to the message. If the warning appeared after a long trip, a cold start, or a high electrical load (e.g., heated seats, headlights, or infotainment running while idling), note these circumstances as context for the fault.
- Safety-first: if you smell burning or hear unusual buzzing around electrical areas, pull over safely and stop driving. Electrical faults can progress; avoid driving with repeated warnings until codes are checked.
What the diagnostic path looks like in Mercedes-Benz practice
Official service literature for Mercedes-Benz indicates that warnings involving the auxiliary battery often tie to fault codes in the Front SAM (Signal Acquisition and actuation module) and are navigated via guided tests in the diagnostic tool suite. The recommended path starts with identifying the exact fault code(s) rather than guessing the cause. The sequence typically follows fault-code lookup, corroborating data from live sensor readings, and then guided tests that MB technicians use to confirm or refute a battery or circuit fault.
Key diagnostic concepts owners should understand:
- Fault-code first, not parts first. The presence of a fault code related to the auxiliary battery or charging pathway is a clearer signal than inference from symptoms alone. Codes guide you to the right subsystem and test steps in the Mercedes diagnostic menu.
- Auxiliary battery versus main battery. The auxiliary battery is separate from the primary drive battery. A poor state of charge, high internal resistance, or a fault in the charging circuit that feeds the auxiliary battery can trigger the warning without the main battery necessarily failing.
- Charging-voltage-sensing checks. Diagnostics often include verifying charging voltage at the auxiliary battery, the integrity of the wiring between the alternator, Front SAM, and battery, and ensuring fault codes reflect a persistent condition rather than a transient spike.
- Troubleshooting ladder in STAR Diagnosis. Mercedes’ STAR Diagnosis system (and its guided tests) provides a stepwise approach to test the Additional Battery path, including whether to replace the auxiliary battery if tests indicate deterioration or failure.
What to pull and interpret: fault codes to gather next
When you see the Visit Workshop message, aim to retrieve fault codes that pertain to the auxiliary battery, Front SAM, and related charging circuitry. Helpful steps include:
- Use your vehicle’s OBD interface to pull active and stored codes, focusing on contact points related to battery, charging, and SAM modules.
- Record codes that explicitly reference the auxiliary (backup) battery, charging voltage, or battery management. Note the code text and any freeze-frame data.
- Cross-check codes with Mercedes STAR TekInfo or your vehicle’s repair guide to determine the recommended next action. Codes alone don’t define the fault; the guided tests that follow are essential for a precise diagnosis.
Guided tests: what owners should expect from Mercedes’ approach
Mercedes’ diagnostic literature often directs technicians to perform guided tests under the Additional Battery menu. While access to STAR Diagnosis requires proper tooling and training, understanding the general flow helps owners engage more effectively with service advisors:
- Test battery health and charging status. The diagnostic path may measure the auxiliary battery’s state of charge, voltage under load, and resting voltage to gauge health.
- Inspect wiring and connectors in the Additional Battery circuit. Tests may verify continuity and resistance in cables, fuses, and connection points that feed the auxiliary battery and charge circuit.
- Replace only if guided by tests. If the inspections show the auxiliary battery is degraded or no longer holding voltage, the guided tests typically culminate in a controlled battery replacement procedure rather than guesswork.
Limitations and model-dependent caveats
Because Mercedes-Benz models vary by year and platform, the exact diagnostic menu paths, code definitions, and test sequences can differ. Some vehicles may store transient codes that require a certain duration of data before they register as active; others may have different thresholds for what constitutes a low-state-of-charge condition. Access to STAR Diagnosis and official MB service literature is typically restricted to authorized technicians, so owners rely on dealership guidance or trusted service literature mirroring the MB approach. Always refer to the exact fault text and the recommended guided tests for your model year when interpreting codes.
Practical scenario: applying the workflow to a typical case
Suppose the instrument cluster shows a battery symbol with Visit Workshop, and a lingering fault code indicates an issue in the Front SAM related to the auxiliary battery. A practical owner workflow would be: retrieve the codes, note the charging voltage and battery state, use the guidance to confirm whether the auxiliary battery voltage remains within expected range, inspect the battery connections (as allowed), and then schedule service to perform STAR Diagnosis-guided tests. If the tests show the auxiliary battery is faulty, replacement is performed under the diagnostic guidance; if tests indicate a problem in the charging path or Front SAM, the service procedure will target those components rather than replacing the battery alone.
Bottom line for owners
The Visit Workshop message paired with a battery symbol is a cue to avoid guesswork. The recommended approach is to perform basic safety checks, pull the relevant fault codes, and follow Mercedes-Benz’ diagnostic framework to identify whether the issue lies with the auxiliary battery, its charging circuit, or a connected module. This method minimizes unnecessary part swapping, aligns with manufacturer guidance, and supports a faster, more reliable resolution by directing the technician to the correct test path.
Sources
- Electrical - Battery Symbol/Visit Workshop Message (MB TSB for auxiliary battery faults 9061/9062 and guided STAR Diagnosis tests)
- STAR TekInfo: Mercedes-Benz USA diagnostic information portal for OBD/DTC lookup and troubleshooting guides
- NHTSA TSB (Example) referencing MIL with fault code and the Mercedes-Benz diagnostic/repair approach