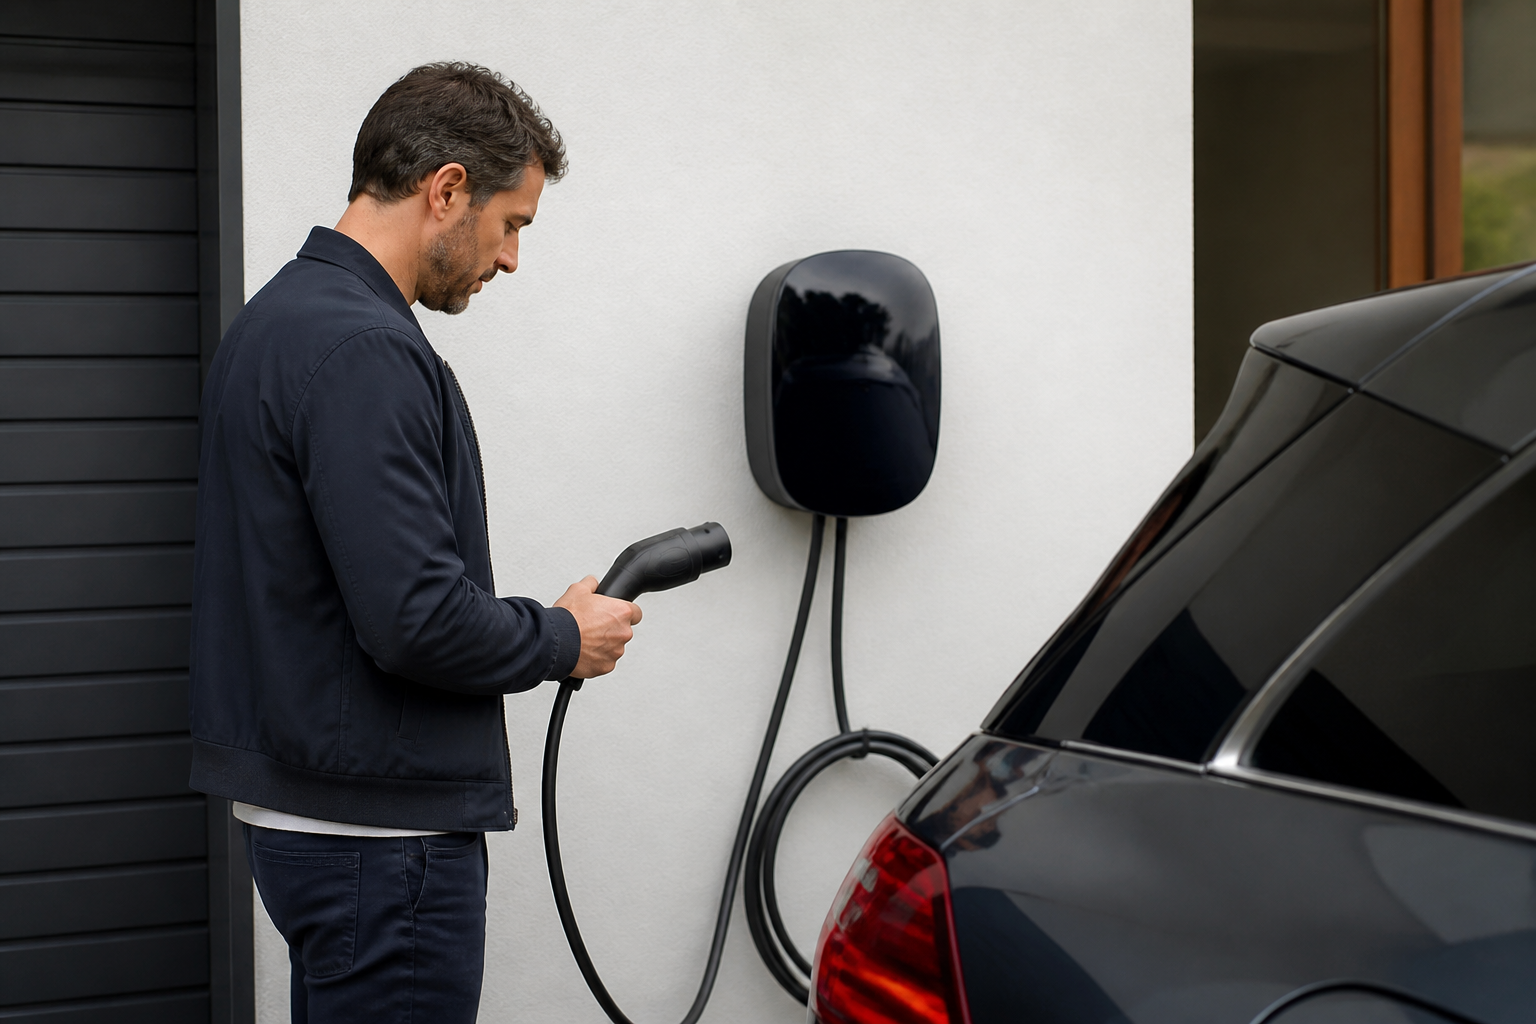
Use this pre-check and first-use checklist to safely install and operate a Mercedes-Benz Wallbox at home: 1) Hire a qualified electrician and ensure power to the domestic installation can be interrupted; 2) Confirm electrical supply requirements (voltage, frequency, earthing) and follow IEC 60364/local regulations; 3) Plan cable routing for indoor/outdoor installation and heed wiring restrictions; 4) If configured, prepare for RFID access protection to start charging; 5) During first use, park beside the wallbox, open the vehicle socket, remove the plug cap, insert the charging plug fully, and start charging via RFID or vehicle controls; 6) Keep the cable unwound and not taut, and stop charging using RFID or vehicle controls as applicable.
Key takeaways
- Qualified installation and power interruption are mandatory before work on the Wallbox.
- Adhere to electrical requirements, earthing, and local regulations (IEC 60364).
- Follow proper cable handling and safe first-use steps, including RFID access if enabled.
Overview: What this guide covers
This practical owner-focused guide translates Mercedes-Benz Wallbox installation and first-use procedures into a clear, checklist-style resource. It emphasizes electrical prerequisites, the necessity of a qualified installer, safe cable handling, and what to expect on first use. It also explains how access protection (RFID or app-based unlocking) integrates with daily charging, and what limitations apply depending on regional regulations and the specific Wallbox model. All guidance is based on official Mercedes-Benz manuals and resources to help owners perform a safe, compliant home-charging setup without guessing at requirements.
Before installation: establishing a safe electrical baseline
Safe home charging starts with a solid electrical foundation. The Wallbox installation manual and related Mercedes-Benz resources specify several pre-conditions that must be verified before any work begins. These are designed to minimize risk to people and property and to ensure reliable charging performance.
- Qualified installer requirement: Installation and ongoing maintenance must be performed by a person or company with the appropriate electrical qualifications. Working with high-current charging equipment requires knowledge of local electrical codes, protective equipment, and correct wiring practices. Do not attempt DIY wiring changes that could create shock or fire hazards.
- Power isolation during work: The main electrical supply to the installation area should be de-energized before starting any connection or modification. This avoids accidental energization while handling the Wallbox or cable routing. Verify no residual energy remains with appropriate testing equipment before touching conductors.
- Electrical supply and earthing considerations: The Wallbox requires a stable supply within defined voltage and frequency ranges. The installation must accommodate a proper earthing system (TT, TN-S, or IT, as applicable by region) and correctly sized protective devices. Earthing quality is essential for personal safety and fault current pathways.
- Local codes and standards: The installation should conform to IEC 60364 family standards and any local electrical regulations. The installer will typically align with circuit protection ratings, conductor sizing, and enclosure requirements specified for charging equipment.
Site readiness and mounting considerations
Beyond electrical readiness, the physical installation must consider location, protection from the elements, and accessibility. The Wallbox is designed for indoor or sheltered outdoor installation, but specific models or configurations may have environmental ratings that impact mounting choices.
- Mounting location: Choose a location that minimizes cable length, avoids trip hazards, and provides easy access for daily use. Outdoor installations should account for weather exposure and cable protection where applicable.
- Cable routing and protection: Route feed and communication cables through appropriate conduits or protective channels. Ensure the cable path does not create damage points, kinks, or tension that could degrade insulation over time.
- Cable length and tension: Plan sufficient slack to prevent cable tautness during vehicle connection and charging, but avoid excess slack that could snag or create deterioration points.
First-use checklist: from unplugged to charging
When you are ready to charge for the first time, follow a careful sequence to ensure proper vehicle connection, secure operation, and correct unlocking (where applicable). The Wallbox manuals describe a workflow that can vary slightly by configuration, but the core steps are consistent across supported models and regions.
- Vehicle prep: Park the vehicle so that the charging socket is easily accessible from the wall-mounted unit. Ensure the vehicle is in a safe state and that the charge port cover is operable as designed by the vehicle manufacturer.
- Plug handling: Remove any protective cap or cover from the charging plug, then fully insert the plug into the vehicle’s charge port until a secure engagement is felt or indicated by vehicle/Wallbox signals. Do not force connectors; if resistance is encountered, stop and recheck alignment.
- Wallbox and cable management: Ensure the charging cable is fully unwound, not taut, and lies safely on the ground or a dedicated cable hook. A stretched or taut cable can overheat or become damaged, and a trailing cable near hot surfaces should be avoided.
- Access control and unlocking: If your Wallbox configuration uses access protection, activation may require RFID proximity or a mobile app to unlock the charging circuit. Be prepared with your authorized credential or app access to start charging. If access protection is disabled, the vehicle's own controls may initiate charging per the vehicle-manufacturer integration.
- Starting the charge: Initiate charging according to your Wallbox configuration. If the system is set to require RFID/App unlock, verify that the credential is recognized and that charging begins. If no access control is required, charging may commence automatically when the plug is fully inserted and the vehicle detects a valid charging session.
During operation: what to monitor
Once charging is underway, owners should monitor for unexpected issues. The official manuals describe standard operation and indicators to watch for, as well as what to do if charging does not start or stops unexpectedly.
- Indicator signals: Look for standard LEDs or display messages on the Wallbox indicating status, fault, or ready state. Consult the manual for the meaning of specific indicator colors and blink patterns.
- Cable condition: Periodically inspect the plug, connector, and cable for wear, cracking, or signs of heat damage. Stop charging if visible damage is detected and arrange service through a qualified installer.
- Environmental checks: If installed outdoors, verify that seals, gaskets, and mounting hardware remain intact after weather events. Report any moisture ingress or corrosion to the installer or support channel.
End-of-charge: safe shutdown and unplugging
Ending a charging session follows either an automatic, vehicle-slowed-off sequence or a manual stop via the Wallbox or app. The process should be straightforward, but owners should be aware of how to safely disconnect the plug and store the cable when not in use.
- Stopping charging: Use the appropriate control (RFID, app, or vehicle control) to end the session according to the configured method. Follow any on-screen prompts or status indicators that confirm charging has stopped.
- Unplugging and securing: After charging stops, unplug the connector from the vehicle, carefully retract the plug, and return any protective caps. Store the plug and cable as recommended to prevent damage and maintain readiness for the next session.
Limitations and caveats to consider
The Mercedes-Benz Wallbox guidance emphasizes safety and regulatory compliance, but owners should be aware of model-specific or region-specific differences that can affect installation and usage. Some key caveats include:
- Model and configuration variations: Different Wallbox models and configurations may support different access control options, cable lengths, power ratings, or mounting options. Always refer to the exact manual for your device and configuration.
- Regional electrical standards: Electrical codes and protective device requirements vary by country and even by state or province. The installer will tailor the setup to local standards and the electrical distribution network.
- Warranty and service considerations: Improper installation or non-compliant configuration can affect warranty coverage. Use authorized installers and follow regional guidelines to preserve warranty eligibility.
Where to find official guidance
For precise, model-specific instructions and the most current safety notes, consult the official Mercedes-Benz resources referenced in this guide. These include the installation manual and the operation manual, as well as the Mercedes-Benz charging resources hub, which aggregates start/stop procedures, access control explanations, and practical daily-use guidance.
Practical takeaway
Safely installing and using a Mercedes-Benz Wallbox at home is a coordination of qualified electrical work, careful site planning, and disciplined daily use. By verifying electrical readiness, ensuring proper installation and grounding, preparing for first-use steps with appropriate access controls, and practicing good cable management, owners can achieve reliable, safe home charging that aligns with official guidance and local electrical regulations.
Sources
- Mercedes-Benz Wallbox Installation Manual USA (installation instructions, electrical requirements, and safety warnings)
- Mercedes-Benz Wallbox Operating Manual USA (starting/stopping charging, access protection/RFID basics, and cable handling)
- Electric Vehicle Charging Resources — Install & Operate: The Mercedes-Benz Wallbox (entry point to official manuals/how-tos)